We're an affiliate
I hope you love what I recommend! Just so you know, I may collect a share of sales or other compensation from the links on this page at no extra cost to you. Thank you if you use my links, I really appreciate it!
When I was little, I used to go to a crafting summer camp. There I learned to do a bunch of things; I wanted to share one of those things with you today. This is one of those DIYs that are affordable to make yet they require a bit more work than usual. I hope you enjoy and find value in learning how to make this DIY magazine purse. Yes, you heard it right, a purse made out of magazine paper.
Materials
The supplies that have an * are optional. This means that you DON’T need them to make this DIY but they will be helpful and make the process easier.
- Magazine Paper
- Contact Paper or Mod Podge
- Scissors
- Ruler
- Writing Tool
- Fishing Thread
- Plastic Needle
- Cutting Mat*
- Cutting Tool*
- Zipper
- Hot Glue
Process
• The first thing you want to do is measure the pieces of paper you will be using. Setup your ruler and pen to make 6.5 x 3-inch rectangles and cut as many as you think you’ll possibly need. To make the pencil bag version of the purse that appears in the thumbnail, I used 26 pieces per string and 3 strings making it 78 rectangles. And for the taller bag, 24 pieces per string and 4 strings making it 96 rectangles. This is completely up to you for how large you want your purse to be.
To ease the process, I recommend you outline the measurements in one magazine page and clip it with a little bunch of magazine papers and cut the pieces in bulk using the cutting mat and cutting tool. I used to do it with scissors and they will work just fine. I did this to save a little bit of time in that part of the process.
• Now, you want to make sure that your bag is waterproof. For that, I will be using contact paper because I already had it from when I used to make these types of DIYs. If you want to go with a more eco-friendly solution, I believe mod podge can be used on paper goods to make them waterproof. I’m planning on using mod podge next time so I will be keeping you guys updated with that when I use it on the bags and how I use it on my social media platforms.
I recommend that when putting the pieces of paper on the contact paper, you choose the side of the paper you want to be shown. Also, you won’t be using contact paper on both sides of the piece, just on the side that’s going to be shown.
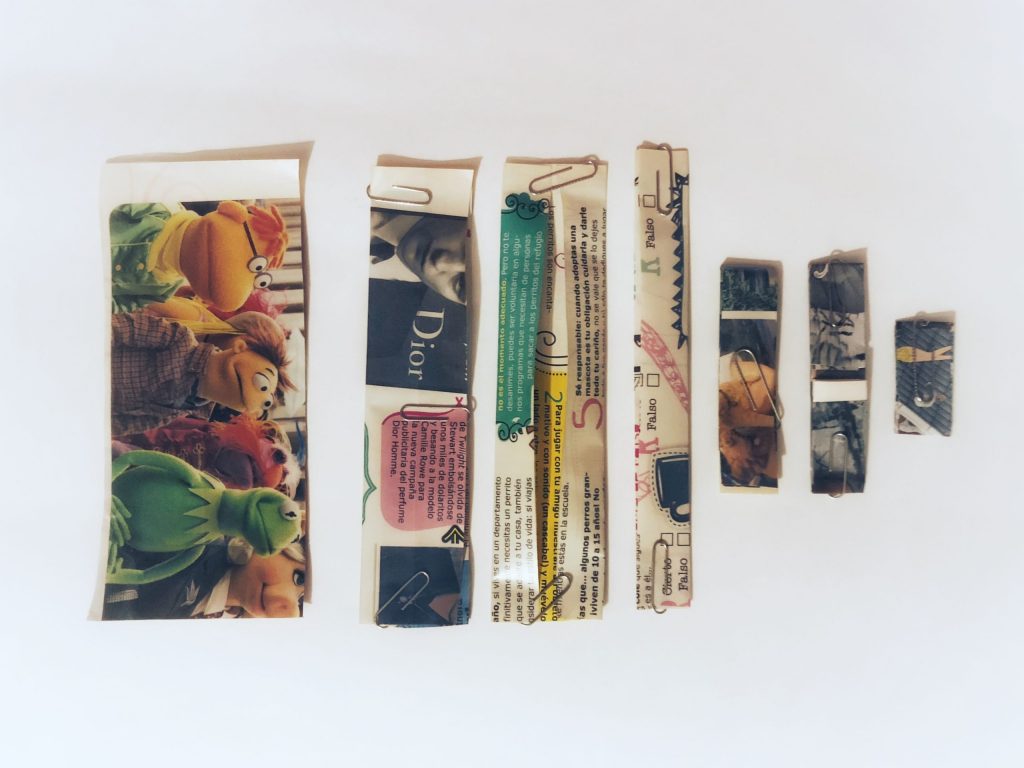
• After keeping up your patience with the contact paper sticking everywhere, you want to go through the folding process. In the picture below I show you each step of the way on folding the rectangles. I recommend you use paper clips to keep the folded piece together in case you are bulk making them. If you have any questions, feel free to leave them in the comments section down below.

• Once you have the pieces folded you are going to interlock them with one another making strings of your length choice.

• What I believe to be one of the trickiest parts of this process is closing the string. The picture shows how you have to take the last piece of the string and intertwine it with the first one.
• After you have the number of strings of your choice with the same amount of pieces each, you want to take the fishing thread and tie it to the plastic needle and leave quite a bit of buffer thread on the other end because you are going to need it.
• The sewing process has to be my favorite though it can be quite tricky at first. I will leave the sewing pattern I use in the picture down below. You first start sewing the bottom string with itself and instead of doing a knot at the beginning to keep the string from getting off, you will have to hold it leaving about 5 inches of string and sewing from there. Once you are sewing the thread will keep its place and it won’t go off, just don’t cut it just yet.
• You want to do the same pattern of sewing with the next strings. But this time, you will be sewing the top part of the one you just did with the bottom part of the one you are adding.

• If at any point you run out of thread, leave about 3-5 inches and draw the needle inside the purse and tie the end of the new thread to that one, bring it outside, and continue on sewing.
• Repeat this process until you finish attaching the strings you wanted.
• To finish the body of the purse, sew your way back to the part where the beginning thread was left off and tie it.
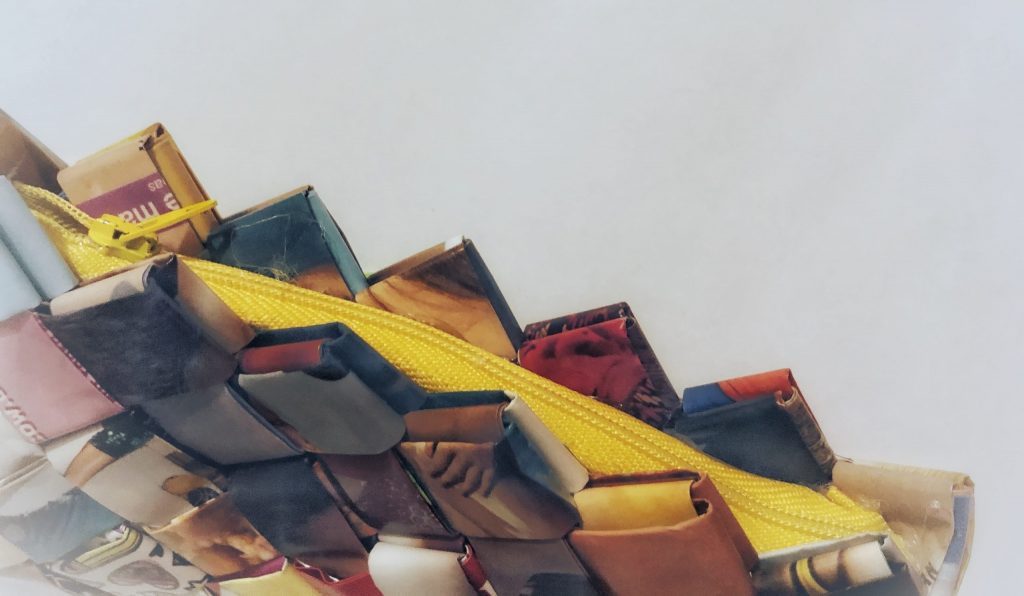
• Lastly, glue a zipper of your choice with hot glue or a stapler. If you are not a fan of zippers, you can also use velcro to close the purse.

And that’s it for this blog post. If you have any questions let me know in the comments section so that I can find a way to help you out.
I hope you liked this blog post and found it helpful. If you would like to see more content like this make sure to subscribe to my weekly newsletter and check out my social media.
Be Yourself, Be Happy, Be Human.
Lots of Love, Patrick.


