We're an affiliate
I hope you love what I recommend! Just so you know, I may collect a share of sales or other compensation from the links on this page at no extra cost to you. Thank you if you use my links, I really appreciate it!
So, I finished High School in May (Woo-hoo!!!) and I was left with all the composition notebooks I’ve been using for school for the past 12 years. That being said, I was not just going to throw them all away when there was a possibility I would need them in the future. Well, that future has come. I decided to make new stationery from old composition notebooks. There are many things you can create from the covers to the paper inside and I’m going to show you all the things I made.
Discbound Planner
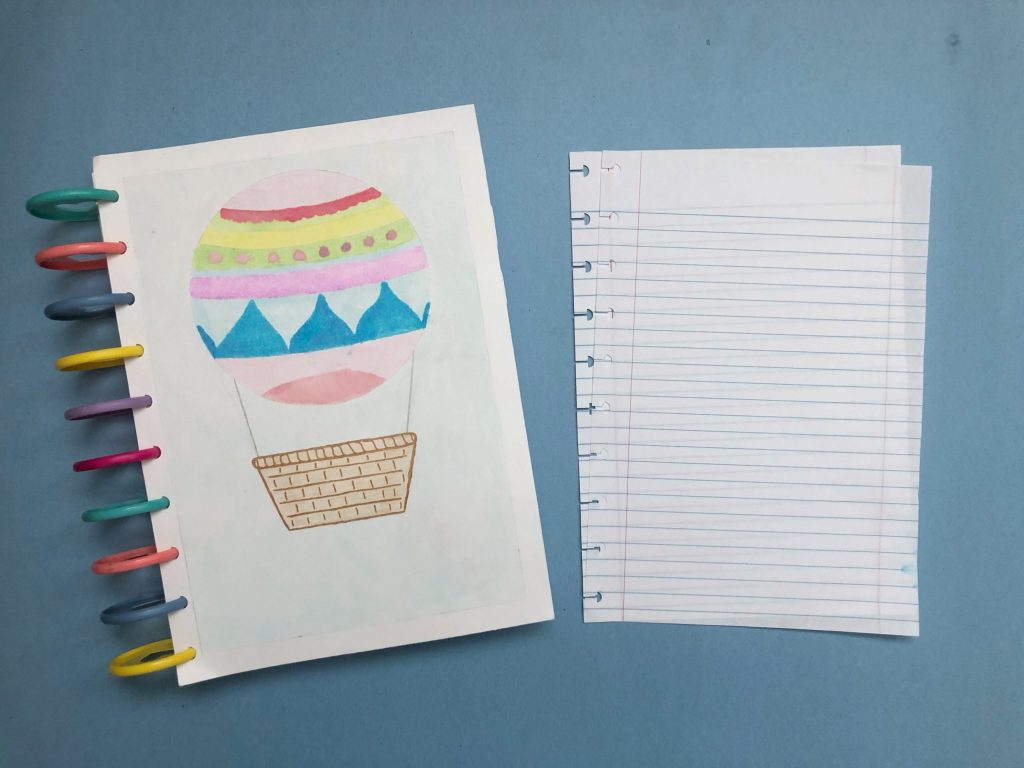
Materials
- Old Composition Notebook
- Cardstock
- The Happy Planner Discs
- The Happy Planner Punch
- Cutting Mat
- Cutting Tool
- Pencil
- Ruler
- Binder Clips
Process
• Take the section of paper you want to take out and binder clip it.
• You then want to mark the line where you want to cut. I did to lines, one 2cm from the left line and 17.5cm from there to the right with is optional just if you want sharp edges.
• After getting the edges done with the cutting mat and tool done, you can move on to punching the papers and putting them on discs.
• I did the covers and dividers with cardstock leaving about 1/2” at the top in case I wanted to create top dividers in the future.
Sew Bound Journal
I’ve done this type of journal a bunch of times as you may have seen in all the posts that I have mentioned it in. Once you know how to make your own notebook, the options are endless. I learned how to do this type of journal with Sea Lemon’s tutorials on YouTube on how to do a Kettle stitch binding and how to make a hard cover for the text block. Since I don’t have all the supplies she showed in her video, I used alternative measures to get the same results.
Materials
- Old Composition Notebook
- Cutting Mat
- Cutting Tool
- Pencil
- Ruler
- Binder Clips (instead of book press)
- Silicone Glue
- Sewing Kit
- Magazine Cover Paper (instead of cardstock)
Process
• I did mostly the same at first as with the previous DIY in terms of getting the paper out of the notebook.
• Once I had the paper out, I measured 5” from the top and cut there to have horizontal pieces.
• I took and folded them. After that, I moved onto following the kettle stitch binding tutorial.
• After I had my text block finished, I worked on the hardcover. I didn’t add the envelope or the elastic closure like it was put in the tutorial and instead of using cardboard, I used the cover of the composition notebook.
• And that’s it, the thing that I love the most about making these types of notebooks is because it becomes easier as you go once you’ve figured it out.
Notepads
This is one of the easiest yet nicest DIYs you could make out of old composition notebooks.
Materials
- Old Composition Notebook
- Cutting Mat
- Cutting Tool
- Pencil
- Ruler
- Binder Clips
- Silicone Glue
Process
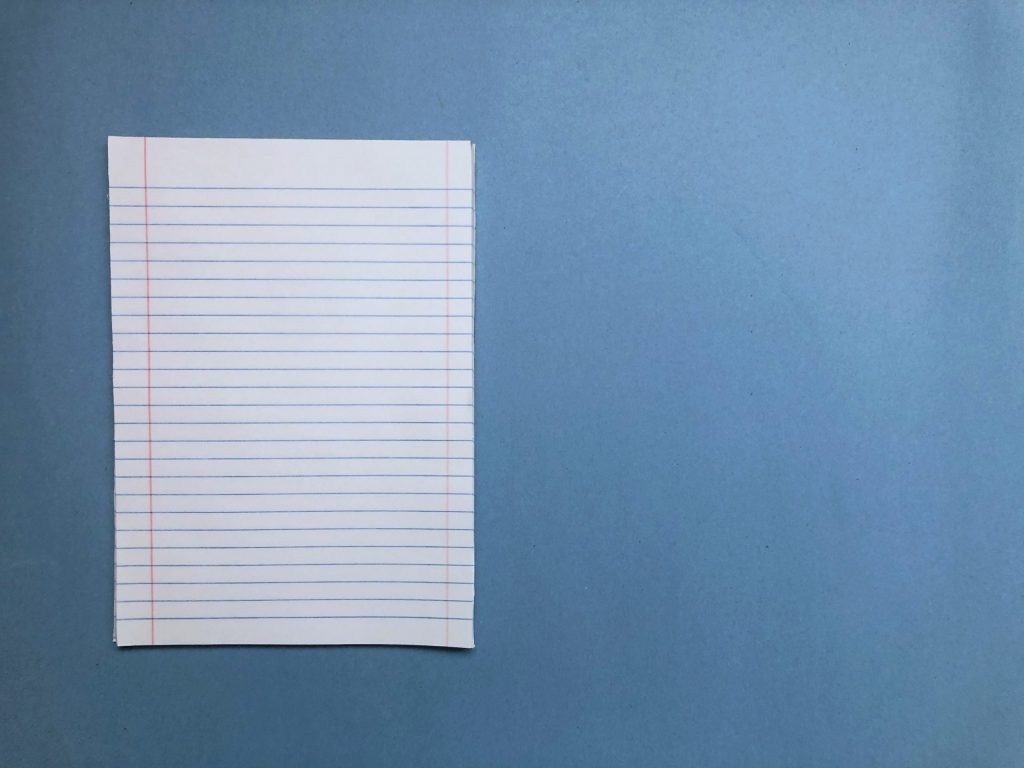
• As with the previously mentioned DIYs, you need to remove the paper from the notebook and the easiest way I have found to do it is with a cutting mat.
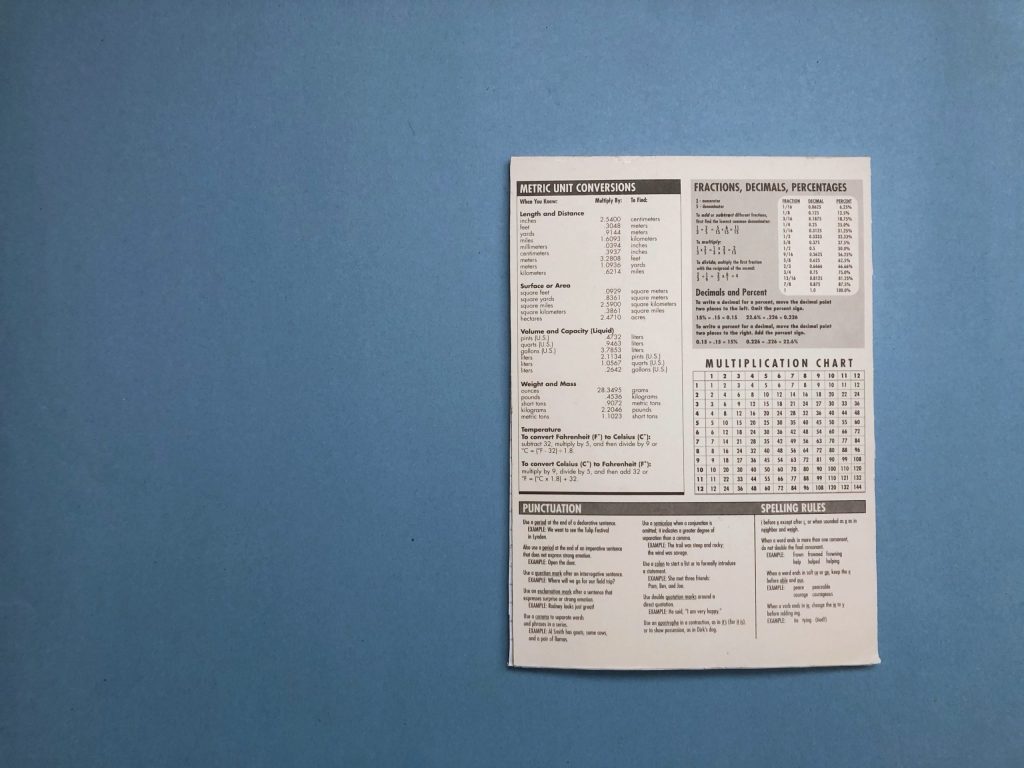
• After you have the paper, you are free to size it down however you like. I made one full-sized and another little one that was about a fourth of the original size.
• Now that you have the paper, you need to cut the cover of the composition notebook to use as backing for the notepad.
• Once you have the backing, you want to line it up with the block of paper and bind it together with binder clips making sure you leave the top of the notepad free.
• Take the tacky glue and apply it to the top of the notepad and spread it evenly. Carefully put the move the binder clips to where you applied the glue to make sure the papers are all tight with the backing.
Notepad Cover
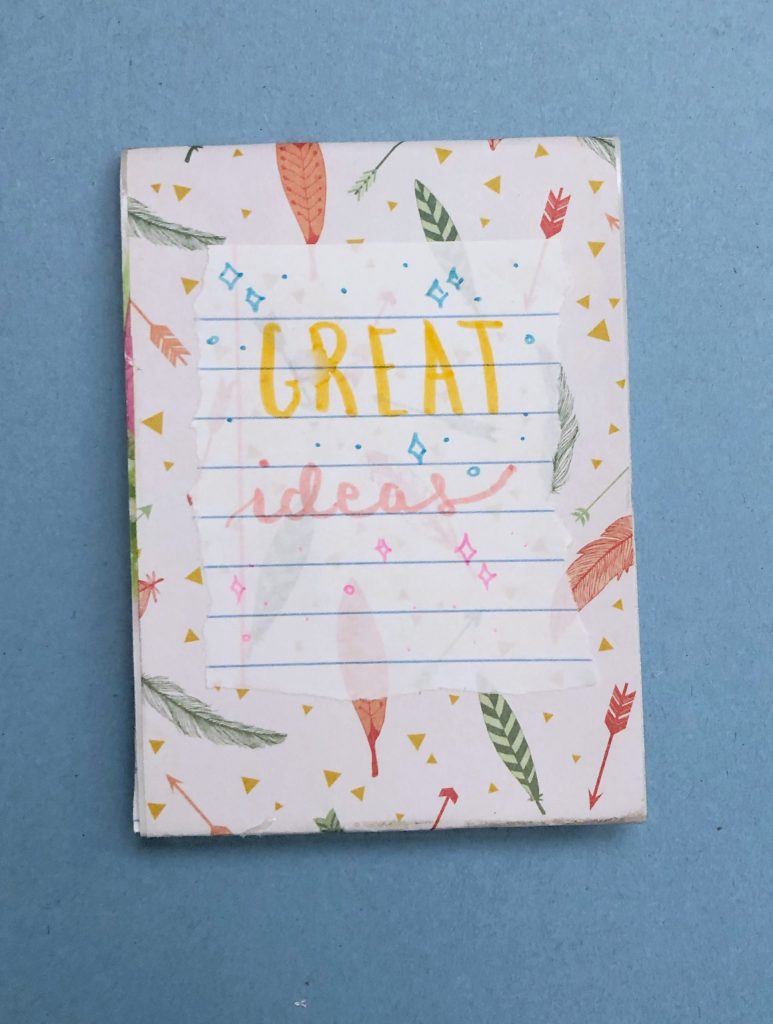
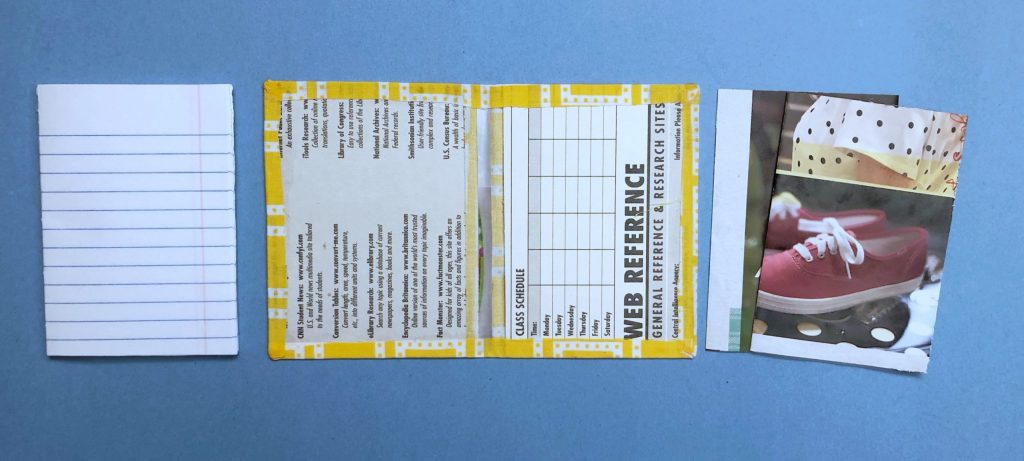
I decided to make this little notepad cover with some leftover magazine cover paper I had from my DIY magazine purses.
Materials
- Magazine Cover Paper or Cardstock
- Scrapbook Paper (optional)
- Cutting Mat & Tool or Scissors
- Ruler
- Pencil
- Glue Stick
Process
• Measure the width of your notepad and mark that width on the cardstock of your choice with twice the length of it plus about 5cm to provide a buffer for the closure.
• Take the strip of paper and decorate it however you would like to. In my case, I used some leftover scrapbook I had from when I made my traveler’s notebook inserts.
• Fold 1cm from the bottom on the wide part of the cover.
• Put the backing of the notepad in it and fold the lengthy part of the cover over the notepad and then use the leftover of the strip to fold in over the papers connecting it to the back.
I don’t know if I explained my self the right way but if you see the pictures you will understand better. Like with all the DIYs I show you, if you have any questions, feel free to let me know in the comments down below.
Bookmarks
This is the easiest DIY of the lot.
Materials
- Composition Notebook Cover
- Scissors
- Decorating Supplies
- Pencil and Ruler (optional)
Process
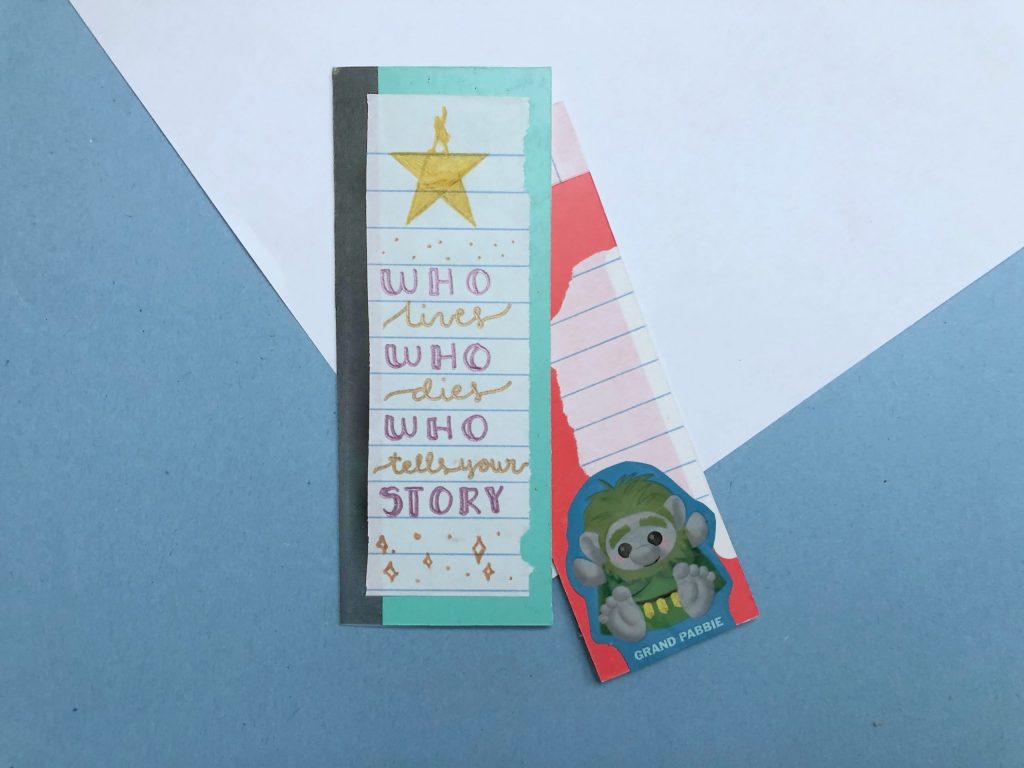
• For this DIY I just did some rough marks on the cardstock to make vertical bookmarks, cut them out, and decorated them. Easy as that! As you can see, I decorated one Hamilton (The Musical) themed and I added the part of the packaging of a Disney squishy I had saved up to the other.
The options are endless when it comes to repurposing notebooks like the composition style. I hope you liked this blog post and found it helpful. If you’d like to see more content like this, make sure you subscribe to my weekly newsletter that has access to a free printables library and check out my social media.
Comment down below what do you do with your school notebooks once the semester is over? Do you keep using them for school until you’ve finished them or do you archive them?
Be Yourself, Be Happy, Be Human.
Lots of Love, Patrick.


