We're an affiliate
I hope you love what I recommend! Just so you know, I may collect a share of sales or other compensation from the links on this page at no extra cost to you. Thank you if you use my links, I really appreciate it!
Valentine’s Day is right around the corner and one of the things that I love the most about Valentine’s Day is creating little gift bags for my friends. I get excited for two reasons, one; I go ahead and give my friend a bit of extra love with the gifts and two; I make personalized gifts for each of them and get excited thinking about how am I going to personalize each gift. This post is for anyone out there who also loves gift giving and crafting on a budget. As you may know, I’m currently on a no-spend challenge that only excludes gifts and books. Still, throughout the year I try to save up money and making the gifts myself not only for the sake of saving up but also because I get more creative freedom and love to personalize each gift to each friend. That’s why I’m making this DIY Valentine’s Day Gift Ideas for everyone out there who wants to do the same. Also, to each one of my besties who started to read this, out you go, you cannot see this post because I will be showing what will be in your little gift bags and if you continue to read on you better take out your inner Oscar-winning actress and make sure I don’t realize you read this. Love ya!
Journal
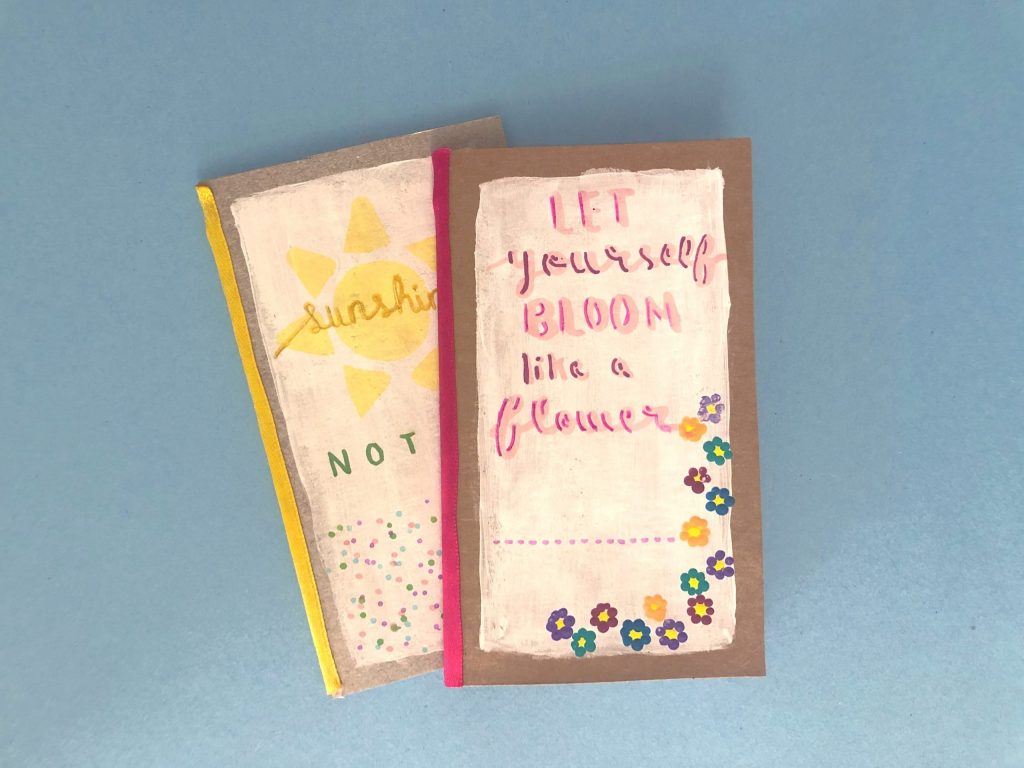
You guys knew the journal was coming. I can’t help myself; I love stationery and how customizable it is for each person. Last year, I also made journals but they were with blank paper and this year I decided to create the journals with ruled paper from school notebooks. Now, I won’t be taking the pages out of the school notebooks I’m using right now. You see, I am really bad at throwing away stuff, like really bad, so I have notebooks from past years that have leftover pages and now I found something to do with them.
Materials
- Paper of your template preference (in my case is the school’s notebook’s ruled paper)
- Ruler
- Scissors
- Heavy Cardstock or Corn flakes box or anything you can find around your house that can function as the cover of the journal
From now on you have two ways to go on. You have more when the imagination flows but I don’t want to make this blog post 10,000 words long.
You can staple the spine of the notebook.
- Stapler with Staples
- Patience
Or you can sew it easily or follow fancy binding tutorials as I will.
- Cutting mat
- Exacto knife
- Sewing Needle and Thread
- Ribbon
- Glue
- Coloring and/or crafting supplies of your choice
- Patience
You need the patience to deal with both of the processes I mentioned and basically with crafting in general as when you are starting it takes some time to get the hang of it. You can do it and don’t put too much pressure on yourself as there are a couple of more gift ideas on the way.
Process
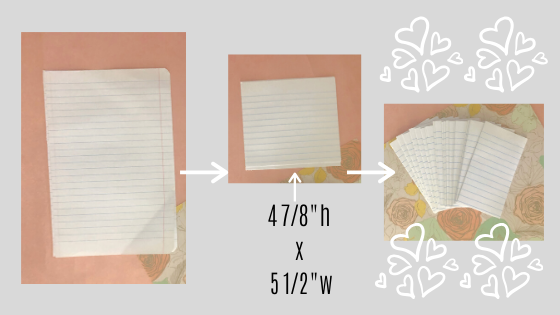
- I first dealt with the paper cutting it off the binding of the notebook and then, cutting it the size of the little journal that I wanted. (measurements in image)
- Fold the paper and sewbind them or staple them in the middle. Kettle stitch binding tutorial by Sea Lemon.
- Cut heavy cardstock or thin cardboard you may have at home for the cover.
- Decorate the covers in whichever way you prefer.
- Glue the spine of the journal to a ribbon and then glue the ribbon to the covers.
Motivational Bookmark
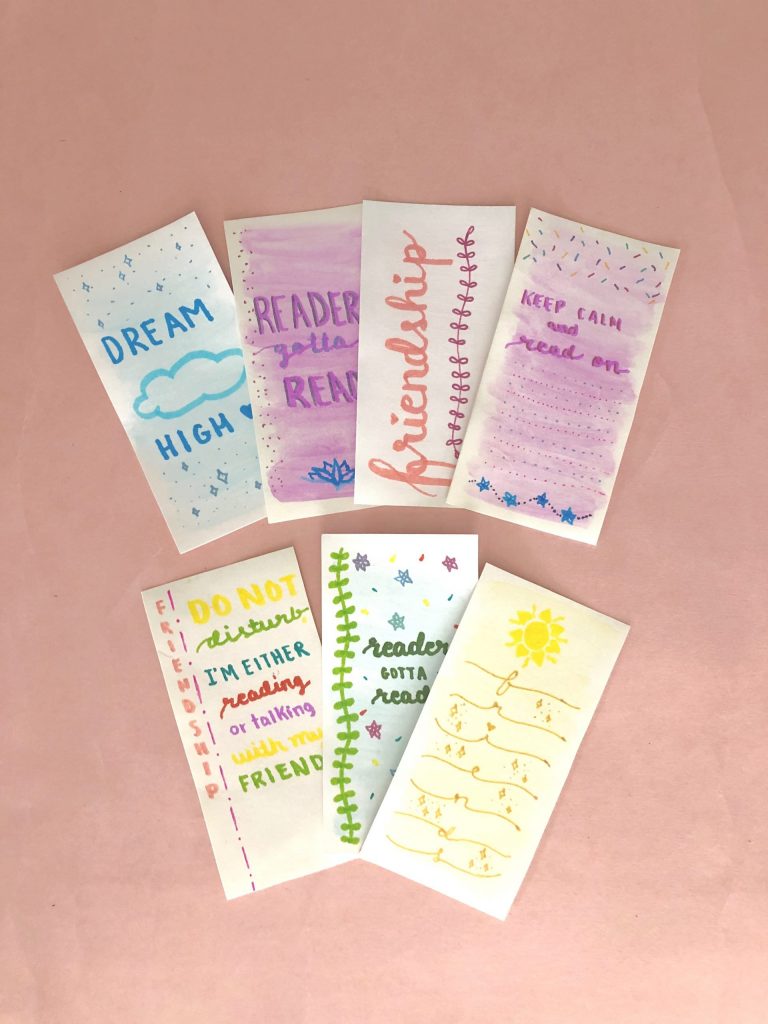
As I decided to theme this whole month in self-love and care, I like to spread the love to all of my friends and encourage them to stay positive and keep going no matter what. Reading is one of those things that I truly enjoy doing. So what better way to encourage reading and positivity at the same time than with a hand made motivational bookmark. A lot of my friends enjoy reading as well and in any case, the bookmark can also be used in a notebook or just put it above your desk or something you see every day as it is something to motivate you. I have a different bookmark in each and every one of my traveler’s notebook inserts and have a bunch of quotes that I have printed out as well as quotes that my friends have given me above my desk.
I personally did my bookmarks with:
- Blank Cardstock (any sort of cardstock will do and I also recommend blank index cards)
- Acrylic Paint
- Watercolor Paint
- Brushes
- Crayola Super Tip Markers
- Gel Pens
You may use whatever supplies you have at home and if you only have paper you can cut it in fun shapes and then write over them with any writing utensils you have at hand. The options are endless as your imagination and your resources will work together to create the best thing. The reason why I chose those supplies is because I feel the most comfortable playing with them and trust me when I tell you that the result is not perfect and that it is okay to mess up but I always think it gives it more personality and this isn’t something you are going to sell, this is for your dear friends that love you and will love the gift just because you made it.
Jewelry or Keychains
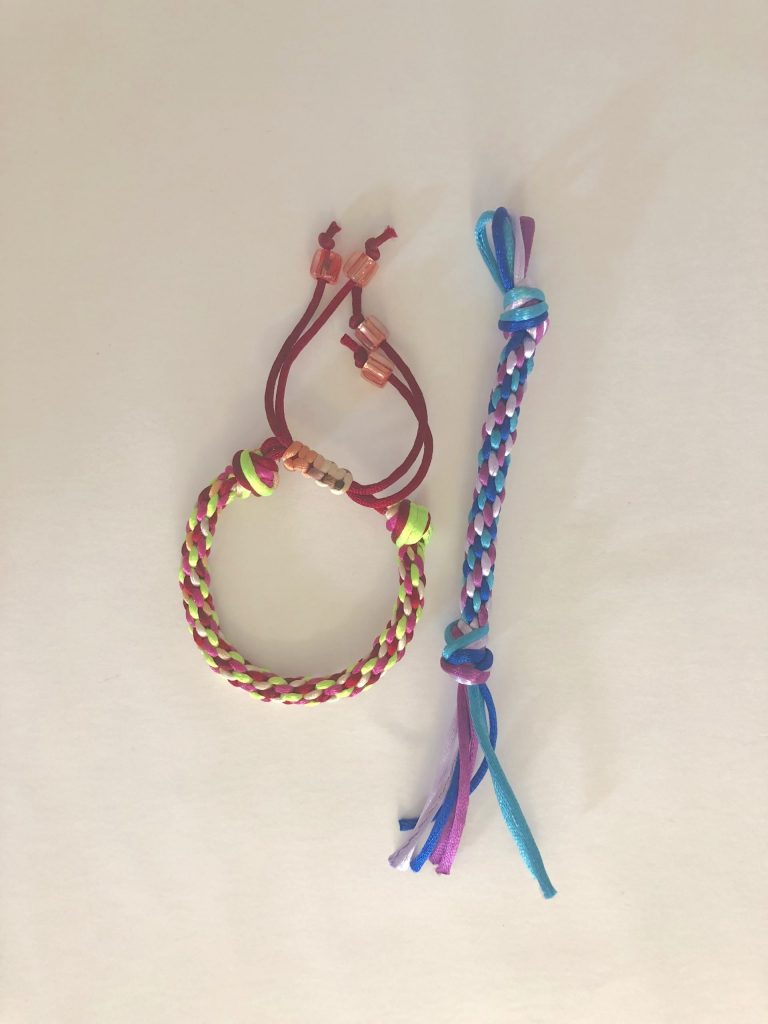
This more so depends on the supplies you have and maybe want to get to make these DIYs. I have been a crafty girl all of my life and have accumulated supplies since I was little and as I mentioned, I don’t like to throw away stuff. So, I have a couple of supplies that I like to make crafts with for my friends and family. The good thing is that the supplies aren’t really expensive. I will be making a bracelet for some of my friends and a keychain for the others.
Supplies:
- Thread (I couldn’t find a link to the one I use for Kumihimo because I don’t know what is called but, as you can see from the picture, is thicker that sewing thread)
- Kumihimo Disk (you can make yours with foam following this tutorial)
- Keyring (optional for the keychain, you can just make a loop with the thread so that you don’t have to spend on key rings)
- Charms (optional if you want to add them to the end of the strings)
Process
Bracelets
The first thing I did was do this kumihimo technique for the bracelets. The tutorial I found that does the tecnique and the ending.
At the ends of each string, I added a bead just to give it an extra touch.
Keychains
The keychains are more so my area of expertise as it is the easiest one to make in comparison to the bracelet.
And as a finishing touch, I added other beads I had lying around here and there to some of the keychains.
You can make bracelets and keychains with the supplies of your choice and whatever you find easiest to do. You can make them just with beads or do macramé or any jewelry-making technique of your choice.
Personalized Pouch

I have recently encountered the amazingness of felt fabric. It is such an affordable and flexible medium to make little cosmetic bags or pencil pouches. I made a pouch for each one of my friends and did little embroideres flowers in each one of them to add the customization element.
Supplies:

- Felt
- ruler
- scissors
- Writing utensil
- Embroidery Thread and needle (I personally used the same thread that comes in friendship bracelet kits and a needle I already had in my sewing kit)
- Sewing Thread and Needle
- Button
- A bunch of sewing tutorials
Process
Cut a piece of felt the size of the pouch you want to make and also keep in mind if you are going to add a closing flap to add the extra space to the final measurement. The measurements of mine are 12″h x 4 1/2″w aproximately and about an inch in height is for the closing flap.
Determine which side is in the outside and the cover of the bag and crochet whatever you want on it. You don’t have to be a crochet master. I half did it correctly and half winged it because it is something that requires a lot of practice but in this case, the intentions are what count. I was followed most of this tutorial for the flower.
Fold it leaving the closing flap out and sew each side with whatever sewing technique you prefer. I used this sewing pattern.
Fold the flap and check where do you want to place the button. Then, make a little hole in the flap big enough to pass the button but not too big that it won’t hold it.
Lastly, you can sew the edges of the hole to make sure it doesn’t get messed up.
Letter/ Postcard
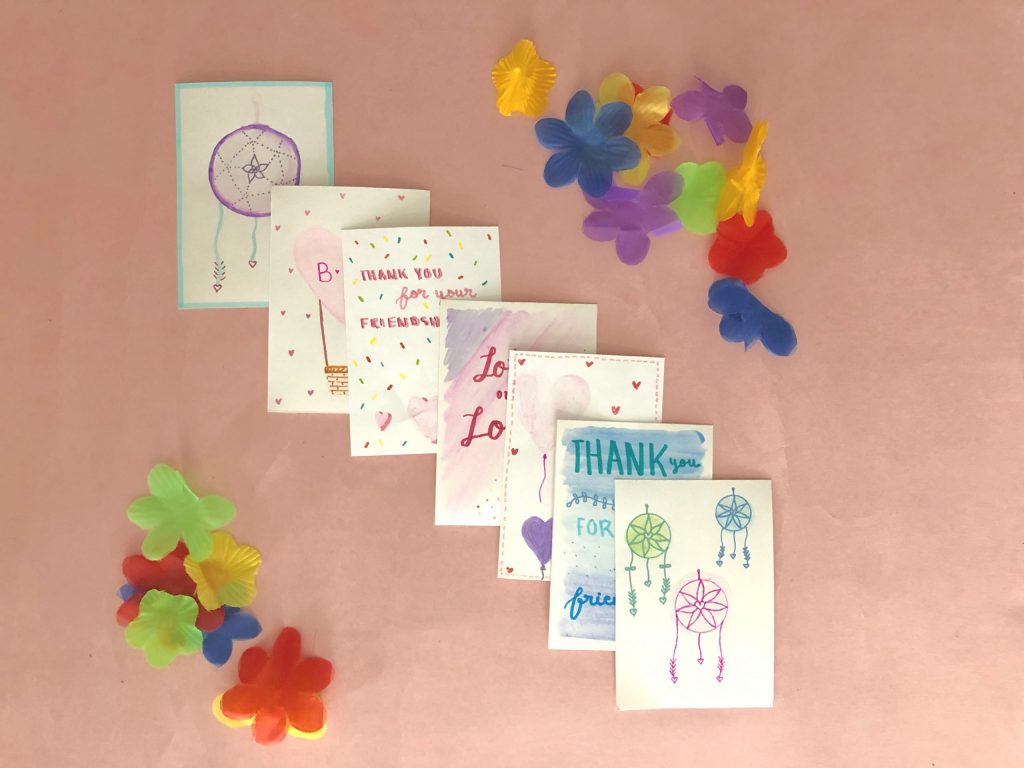
Last week we had sent a card to a friend day and I made a bunch of cards to add them to each little gift set I made for my friends. I just used some cardstock and decorated it as if it were a postcard.
Origami Figure
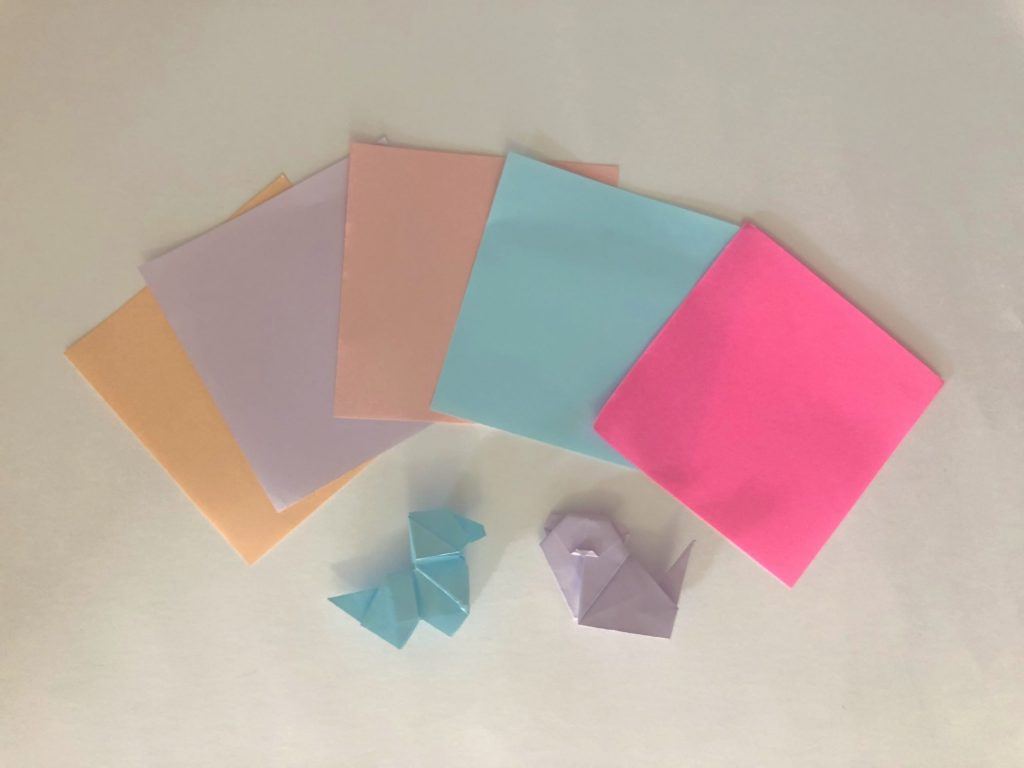
I love doing origami figures even though they can be stressful sometimes. In this case, I just did my friend’s favorite animal in origami searching in google for the one that I needed to make and following it step by step. The biggest tip when doing origami is just to follow the tutorial slowly and have a lot, a lot of patience.
Origami Flower
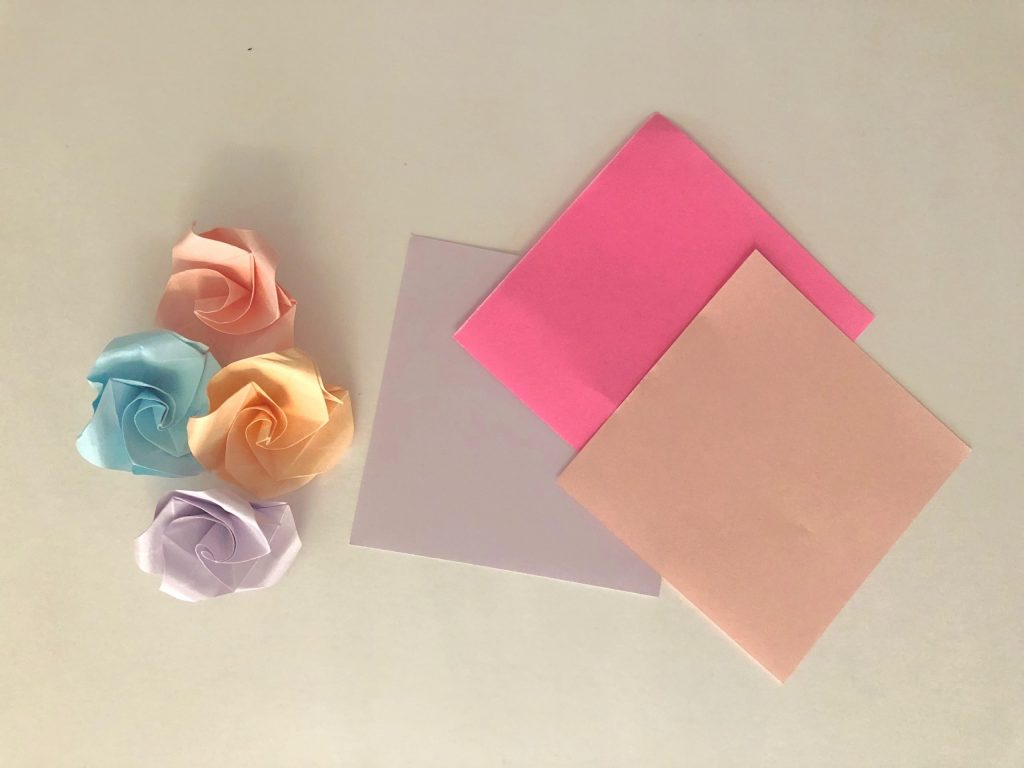
Origami flowers are so pretty and as it is Valentine’s Day I thought that it would be a little detail that kind of it is represented by the day. I specifically made a flower and added origami hearts just to spice it up a bit with colored paper I had lying around.
Self Care Checklist in Paper Scroll or Self-Care Workbook
Last but not least, I gave my friends my workbook for self-love and care because I truly believe that it is really important to give yourself love to lead a happy life and care not only for the world and people around you but for yourself.
Last but not least, I gave my friends my workbook for self-love and care because I truly believe that it is really important to give yourself love to lead a happy life and care not only for the world and people around you but for yourself.
I hope you found this blog post helpful and that you have a lovely Valentine’s Day surrounded by all your loved ones or just focusing on giving yourself love. This month will be mostly focused on self-love and care so you may want to stay tuned to check out the content that I will be posting and make sure you stick around and check previous blog posts about: Creative Journaling Prompts for Self Care, DIY Comfort and Positivity Box and my Self Care February Bullet Journal Set Up.
Be Yourself, Be Happy, Be Human.
xoxo, Patrick.


Waoo!! A lot of great things to create and personalize!! Thanks for all this guides and of course for your time sharing al these so helpful ideas!!! 👍😊☺️