We're an affiliate
I hope you love what I recommend! Just so you know, I may collect a share of sales or other compensation from the links on this page at no extra cost to you. Thank you if you use my links, I really appreciate it!
Whether you are an avid book reader or you have a bookworm as a friend, I think you will really like these DIYs. I had lots of fun making each and every one of them. They all fill my bookworm heart with happiness. Hope you enjoy these DIY Bookworm Crafts.
Bookends
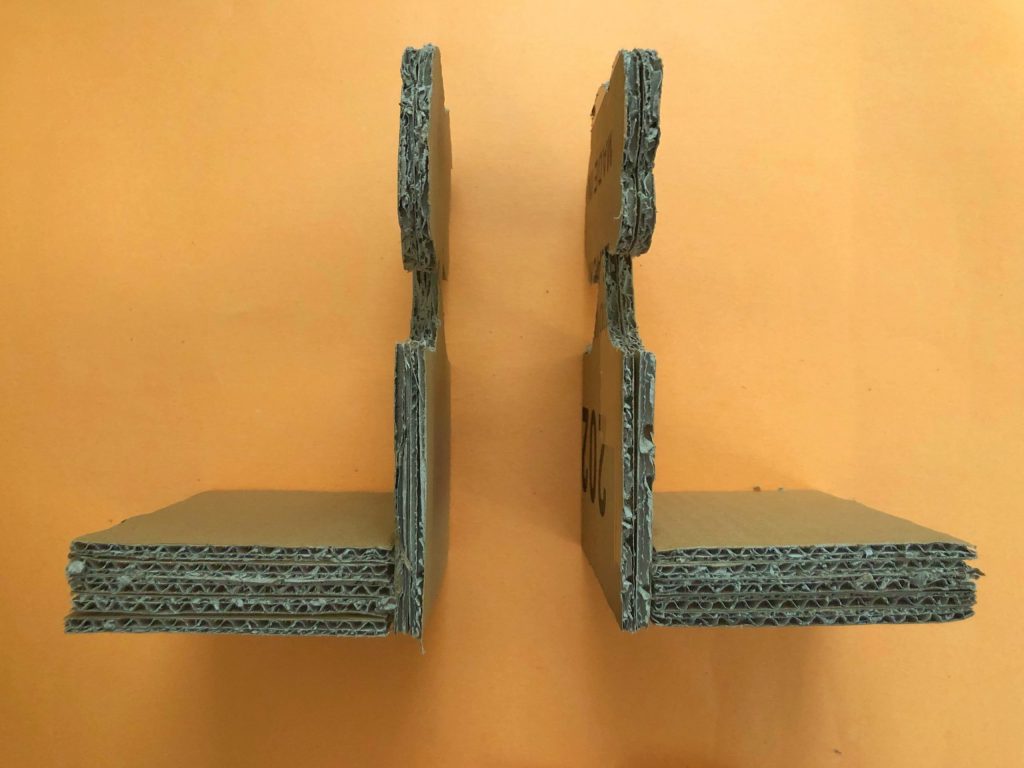
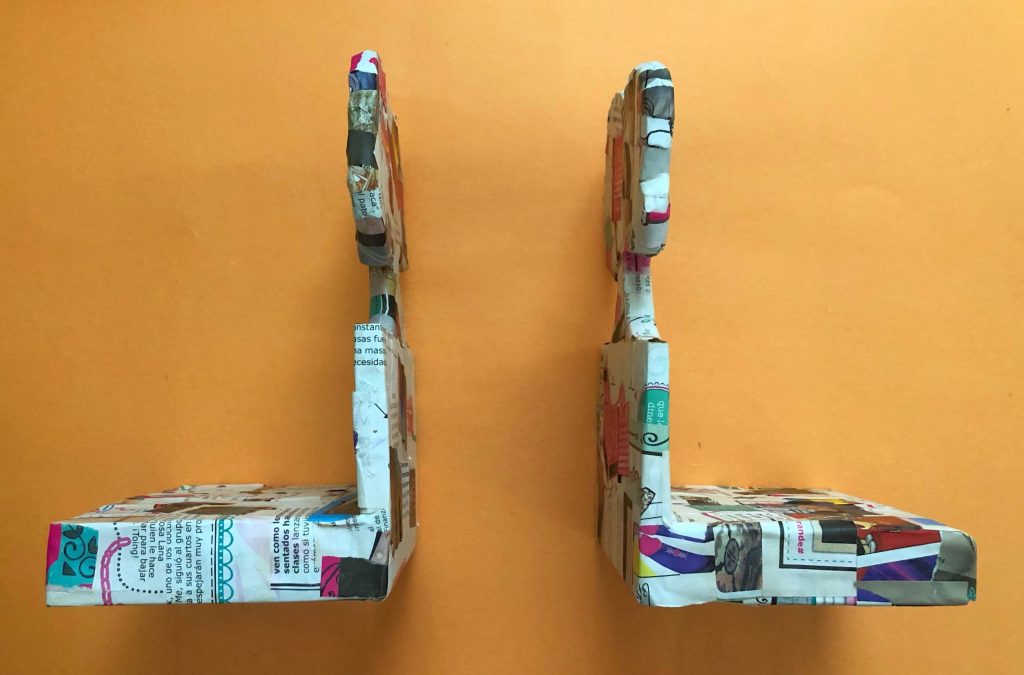
Bookends come in super handy when you want to display books on your desk or a flying shelf. They would also be useful if you have an odd space in your bookshelf that you want to fill out.
Materials
- Paper
- Pencil
- Cutting Mat and Cutting Tool
- Cardboard
- Bowl
Process
- First, outline your desired design on a half letter piece of paper. I went in with a simple tree outline. A little tip for you guys now that mine is done, is that you make a design with straight edges so that the process of applying the mache is easier.
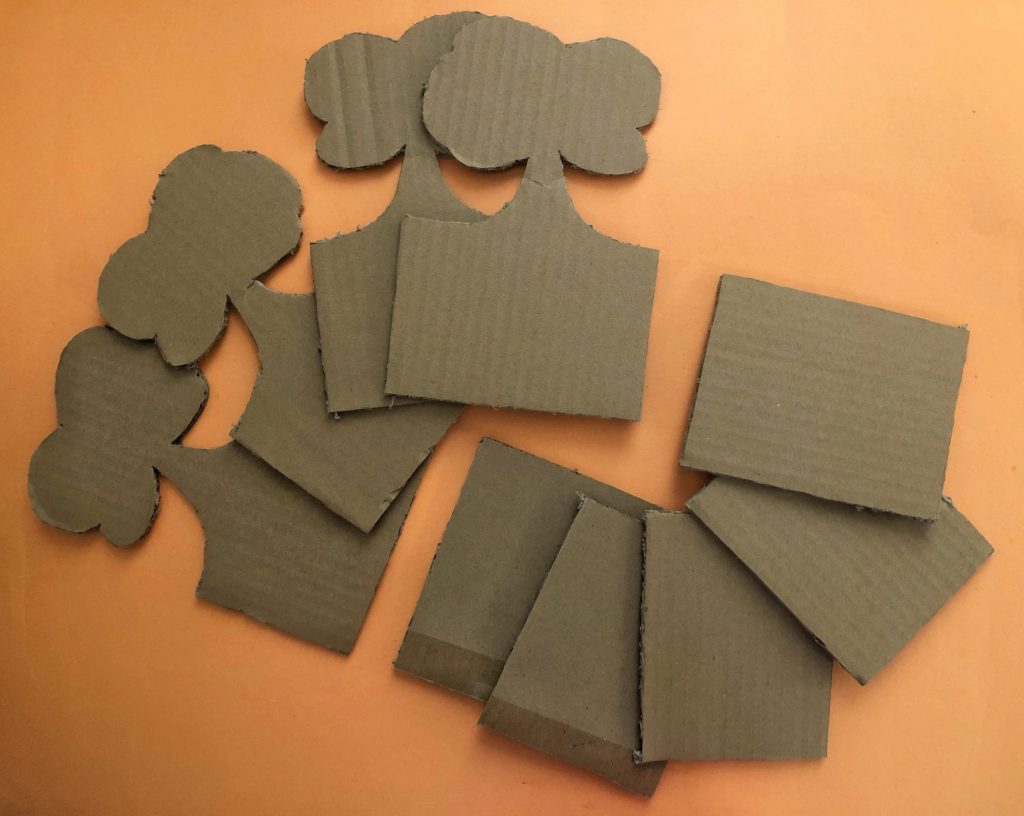
- Take the outline you made on the piece of paper and trace it 4 times on a piece of cardboard so that you have two layers of the design on each side of the book stoppers.
- Take 1/4 of a printing paper that ends up being 4.25” x 5.5” and cut 10 pieces of cardboard to size, 5 for each stopper.
- Glue 2 design outlines and a block of 5 pieces of cardboard. Then, glue the block to the design like shown in the picture.
- Cover the whole this in mache paper and let it dry nicely overnight.
- Lastly, just so that the bookends don’t move around while displayed, add different patterns of hot glue to the bottom.
Book Review-Journal
Creating a book review journal or a reader notebook is great for every bookworm who doesn’t want to lose track of the books that he or she is reading or just want to do some creative journaling of the books read.

I show you how to set up a book review journal here.
Bookmark
The same way you could never have too many books you could never have too many bookmarks.
Materials
- Watercolor Paints
- Brushes
- Gel Pens
Process

- Cut the outline of the bookmark with the measurements shown on the image. I recommend you use a cutting mat but feel free to use scissors. It’s just that cutting things with the cutting mat is easier.
- Now you can go on to decorating the bookmark to your desire. I personally used watercolors and gel pens.
Book Dust/ Cover Bag
Having a dust bag is great to protect your books when traveling.
Materials

- Fabric
- Pen
- Ruler
- Sewing Kit
- Thin Ribbon
Process
- Measure out 70cm x 22cm on the fabric.
- Take the piece of fabric and sew about a centimeter in on both edges on the long side.
- Fold the top and bottom 4cm in and sew two lines 1cm apart to put the ribbon through.
- Fold the whole piece in half on the short side and sew each loose side stopping that the folded part on the top.
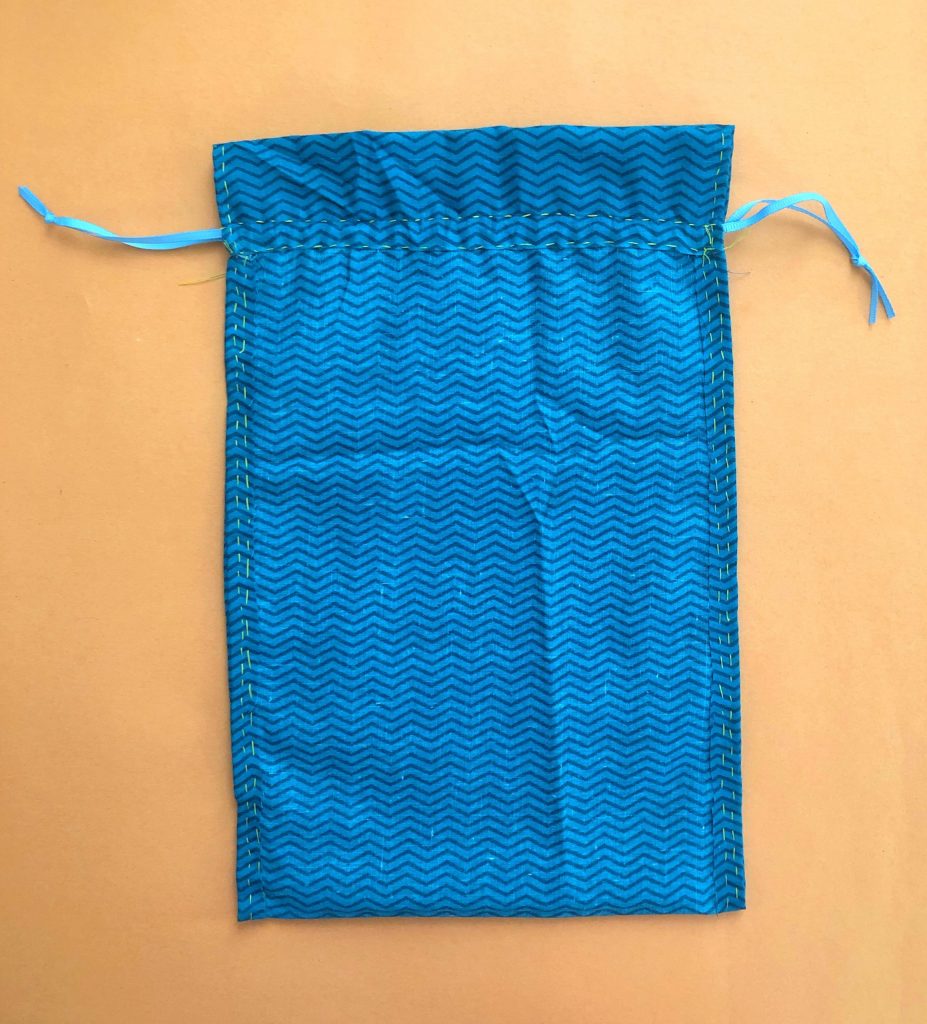
- Turn it the right way and pass the ribbons the way shown on the picture below and lastly, make a knot at the ends of the ribbons to keep it together.
Stationery Folio
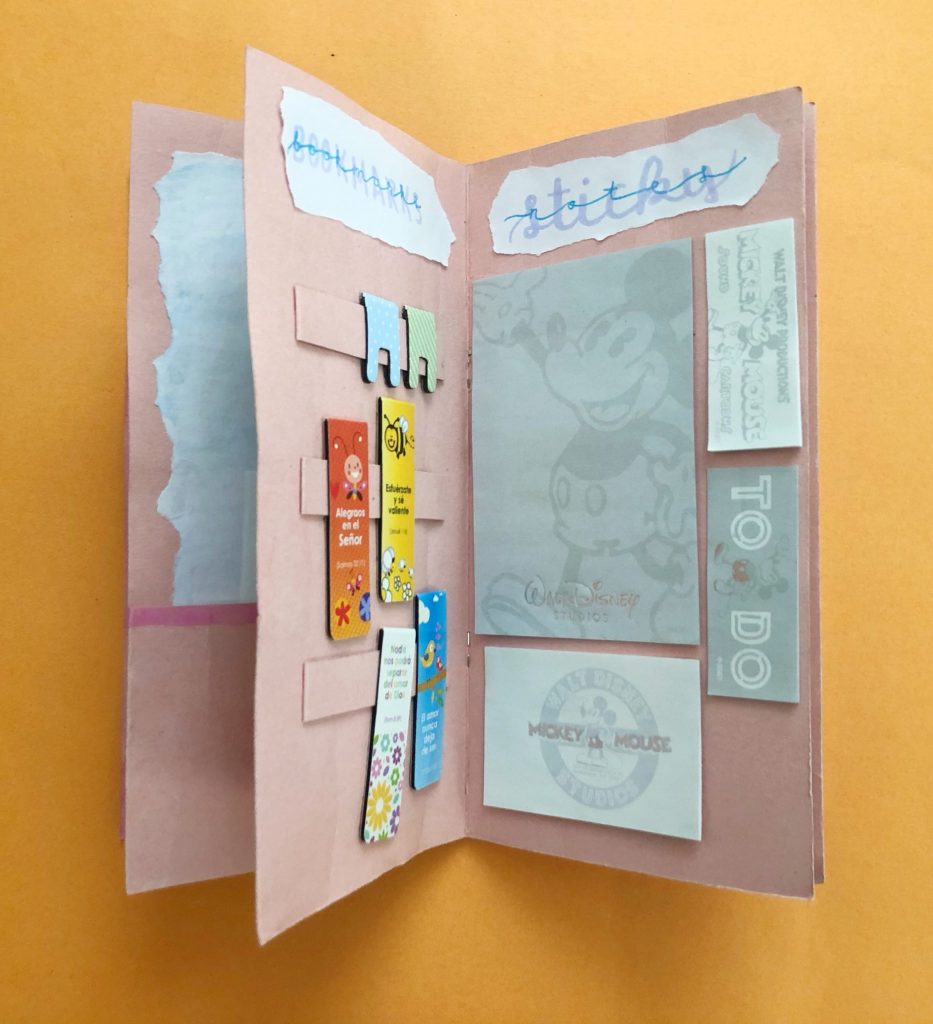
I love stationery supplies. This stationery folio allows you to put things such as a notepad, pieces of paper, bookmarks, sticky notes, and a journal (like the book review journal shown previously.
I teach you how to make this folio in the DIY Stationery Folio post.
That’s is for today’s blog post. I hope you liked it and found it helpful. If you’d like to keep up with the latest content and get access to the FREE printables library, make sure you subscribe to my weekly newsletter and check out my social media.
Be Yourself, Be Happy, Be Human.
Lots of Love, Patrick.


